
NOTE: The information in this article is intended for internal partner training purposes only.
For external use, please refer to the approved materials provided to you — including our live, always up-to-date website, official sales collateral, or reach out to our BDM team for additional resources and demo support.
The following information is intended for personnel who have completed the AutoStore Commissioning Engineer training and exam, and who have already familiarized themselves with all material in the AutoStore Commissioning manual on The Port.
What is different about commissioning a Pio grid?
- Pio provides the Application Server
- Customer does not need to provide an SQL server
- No Service Wall/mezzanine
- The Service Tower module is used for Pio sites
- Only south-facing, R5-series robots
- Only Conveyor Port
- Smaller Controller that should be mounted to the Service Tower by grid installers
- Streamlined & efficient
- Pio deployments are intended to be simple and standardized – commissioning should not take more than 24-48hrs on P100/200/400-sized systems, depending on when site networking and electrical is completed, the number of robots, and assuming there are no grid installation or module hardware faults identified.
If you feel you are not able to execute at this pace, please reach out to us at deployment@pio.com so that we can collaborate on identifying gaps and how to make the process even easier!
Schedule remote session with Pio before going to site
Pio is committed to making commissioning as easy and streamlined as possible for our partners. However, for 2026 a remote session with Pio Operations will be required when completing final steps on the Application Server. Please open a case on the AutoStore Service Portal to confirm on-site dates and schedule the remote access session.
What to complete prior to remote session:
- Confirm connectivity from Controller to Application Server using Remote Desktop and Pio Network Standards
- Install the latest release of CubeDeploy from The Port on Controller, then install but do not activate nodes!
- Node activation will take place during remote session with Pio Operations
- Have initial .aslog file ready
On-site before remote session with time to spare after completing the above?
Here’s what you could be working on:
- Wire, and configure Ports
- Configure ASIO and wire Junction Box & Service Tower
- Ensure electricians have connected power to the Service Tower and test Robot Door unlock button
- Lift will not operate unless the grid is in Running or Service modes
- Configure, mount, and wire up AutoStore Access Points
- Confirm internet access on Application Server
- Compliance stickers
- Preparing robots for induction
- Installing Customer Console on customer-provided Service PC
- Setting up your organizations remote access software on customer-provided Service PC
General Configuration Information & Tips
1. Pio Network Standards
Follow AutoStore Standards in the Commissioning manual for Ports, Access Points, the ASIO, and the Controller.
*We recommend using DHCP because Pio supplies the hardware, but may have no remote access to manage network changes depending on installation environment. This minimizes client-side configuration errors and prevents loss of internet access required for operation.
^Successfully supporting a Pio site requires partners to have remote access to assist customer users with basic grid stops. Partners and customers should establish an agreed-upon method for the partner to have remote access to the Service PC for working with super users prior to the installation of the grid.
%Pio customers should not have access to AutoStore Service Console. If Service Console is needed on the Service PC for your support team, please restrict access using a password. Customers should only have access to Customer Console for stopping/starting the grid, unlocking the door, following Actions Needed prompts, or Adding/Removing robots -- no manual Robot Mode or Port actions.
Here is a high-level network diagram for the Pio tech stack:

For a more detailed overview, please refer to the AutoStore Commissioning Manual.
2. ASIO & Junction Box
Follow standard ASIO configuration steps, although consider setting the device name to “Service Tower” during commissioning of the ASIO
Note: The Service Tower module requires the use of an ASIO 3.0 or newer
For the Junction Box, please refer to the “Wiring diagram” page on the Service Tower Installation Manual. Take care to add the bridges for the Robot Door as shown in the diagram.
3. Console Configurations
System configuration
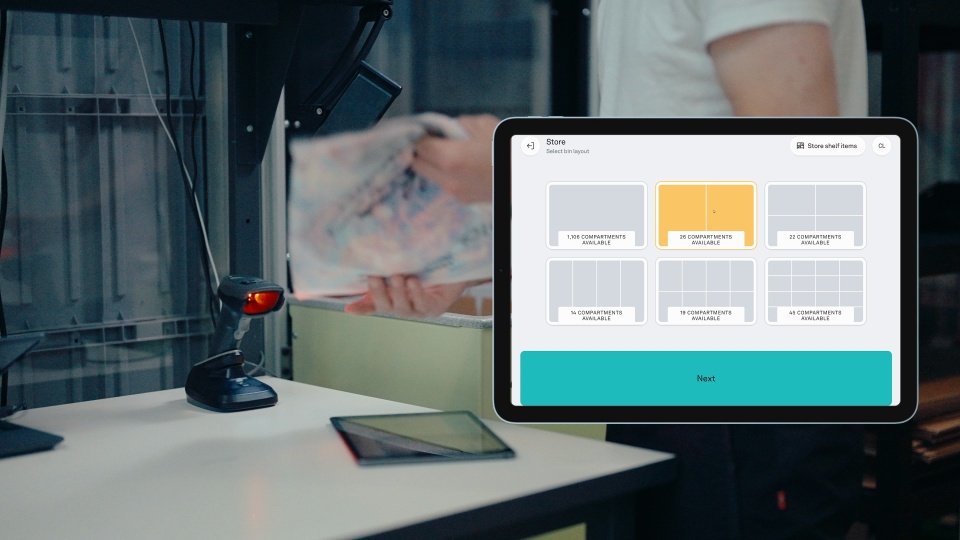
Pio uses the following content codes for empty bins with different compartment layouts: 0,32,64,80,128,256
Grid Design and Doors
The Robot Doors of the Service Tower are controlled by the unlock button on the Service Tower Control Panel, not in Console as with a Service Wall. You will not see the Robot Door(s) appear in Console when using a Service Tower, only the Grid Door.
If you are unsuccessful in getting the Grid Door to appear in Console, a likely cause is that your grid design is missing the Service Street cells that are required adjacent to the Exit cells. You may add them using “Add Cells” by right-clicking in the Grid tab of Service Console:

After making these changes, you may need to restart the ASIO and/or the CubeDeploy Controller node.
NOTE: The information in this article is intended for internal partner training purposes only.
For external use, please refer to the approved materials provided to you — including our live, always up-to-date website, official sales collateral, or reach out to our BDM team for additional resources and demo support.